One of the fun console commands I’ve recently discovered in Lumberyard is r_showrendertarget. Here’s the (abbreviated) description:
[CONSOLE] Executing console command 'r_ShowRenderTarget'
Displays render targets - for debug purpose
[Usage]
r_ShowRenderTarget -l : list all available render targets
r_ShowRenderTarget -l hdr : list all available render targets whose name contain 'hdr'
r_ShowRenderTarget z hdr : show any render targets whose name contain either 'z' or 'hdr'
r_ShowRenderTarget -e $ztarget : show a render target whose name exactly matches '$ztarget'
...
Basically, you can use this command to show the contents of render targets at run-time without using RenderDoc, NSight etc. These render targets are more than just handy for debugging, there are a bunch of render targets that are updated each frame as part of the render pipeline and they can be handy for using in materials and UI. For example, lets say you want to have a UI overlay that has a translucent looking panel. Here’s one way you can do that with a render target.
- Create a new UI Canvas and add an Image slice
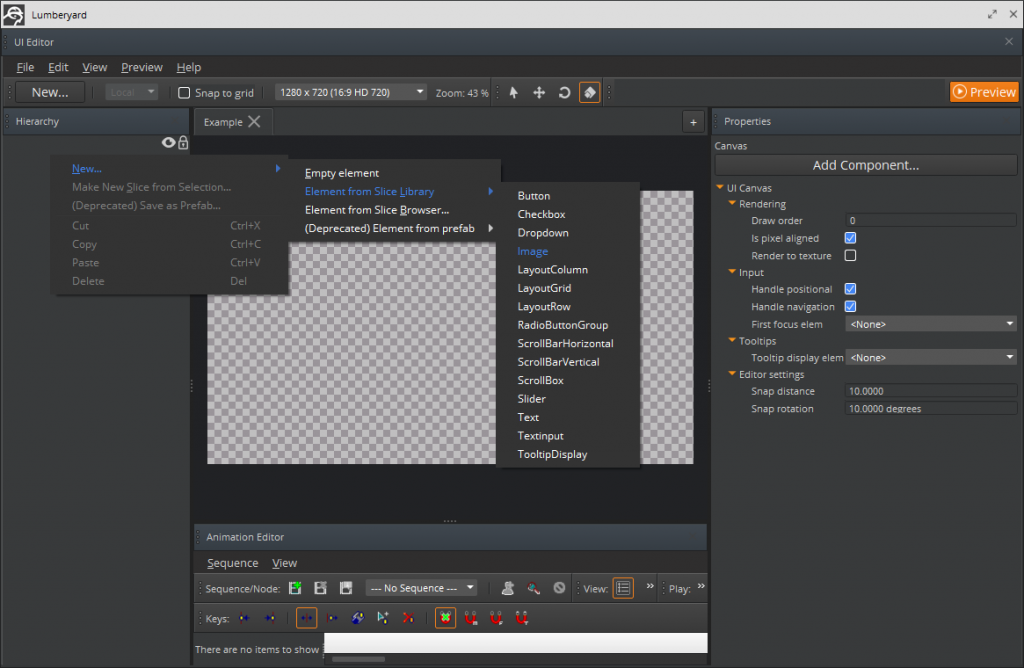
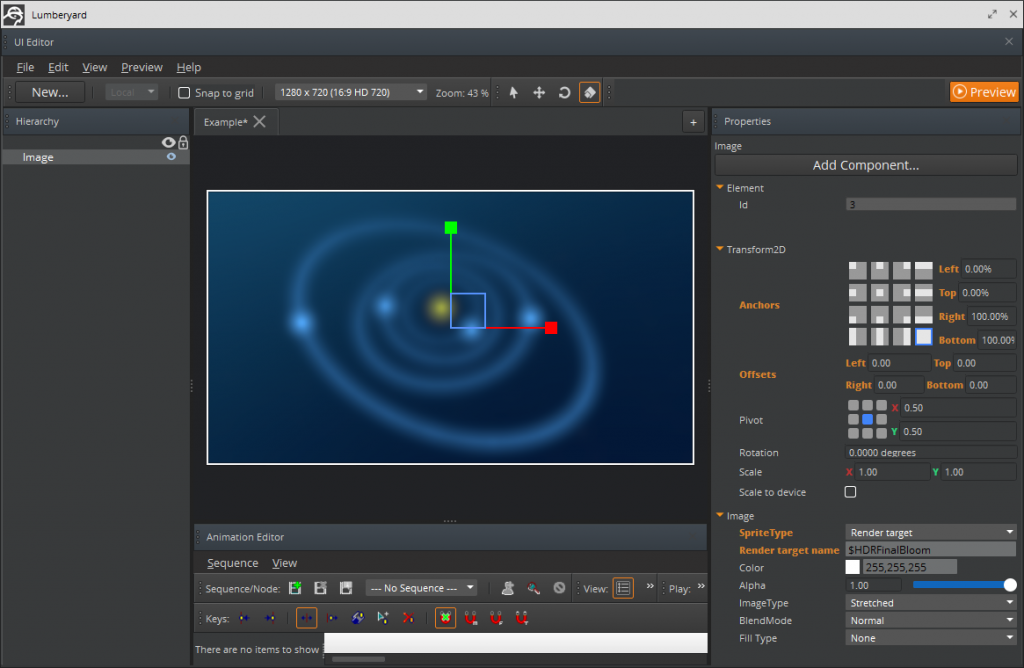
- Maximize the Image to fill the canvas, change the Image > SpriteType to Render target and enter $HDRFinalBloom in the Render target name field. If you have a level loaded you should immediately see a blurry version of the main camera in the UI now and if you move the camera around the image in the UI editor refreshes too
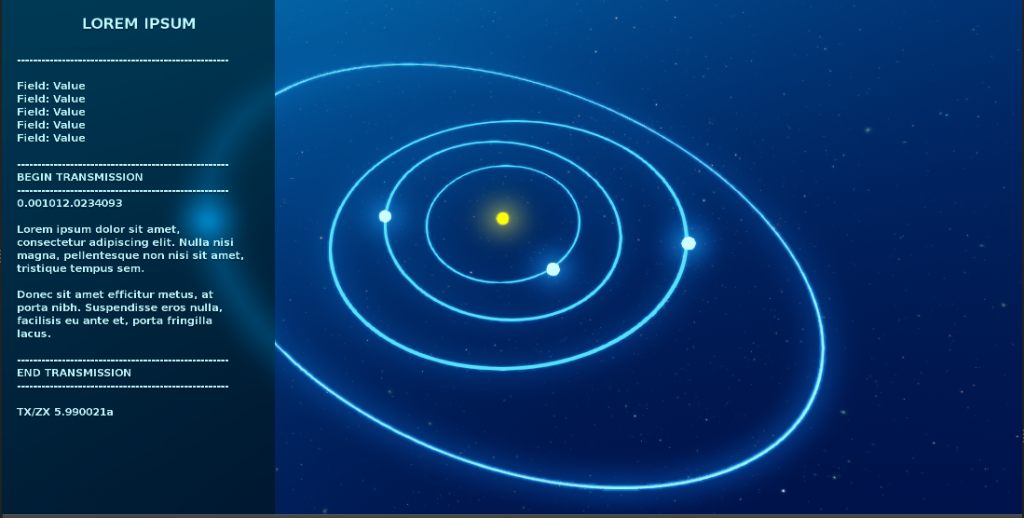
- Just for this example, to make it look a bit more like translucent glass I tinted the image and masked it and added some lorem ipsum text. When I load the canvas in game I get this:


I’ve also used this technique to blur/tint backgrounds quickly in UI (win/lose/pause menu backgrounds) and it’s really quick to set up and use.
Another use for render targets is to get a kind of preview of what your UI will look like overlay-ed in the scene while you’re working on it. To do this, add an Image slice to your UI in the background, change it to Render target mode and set the render target name to $SceneTarget. This is what it looks like for me in the example I created.
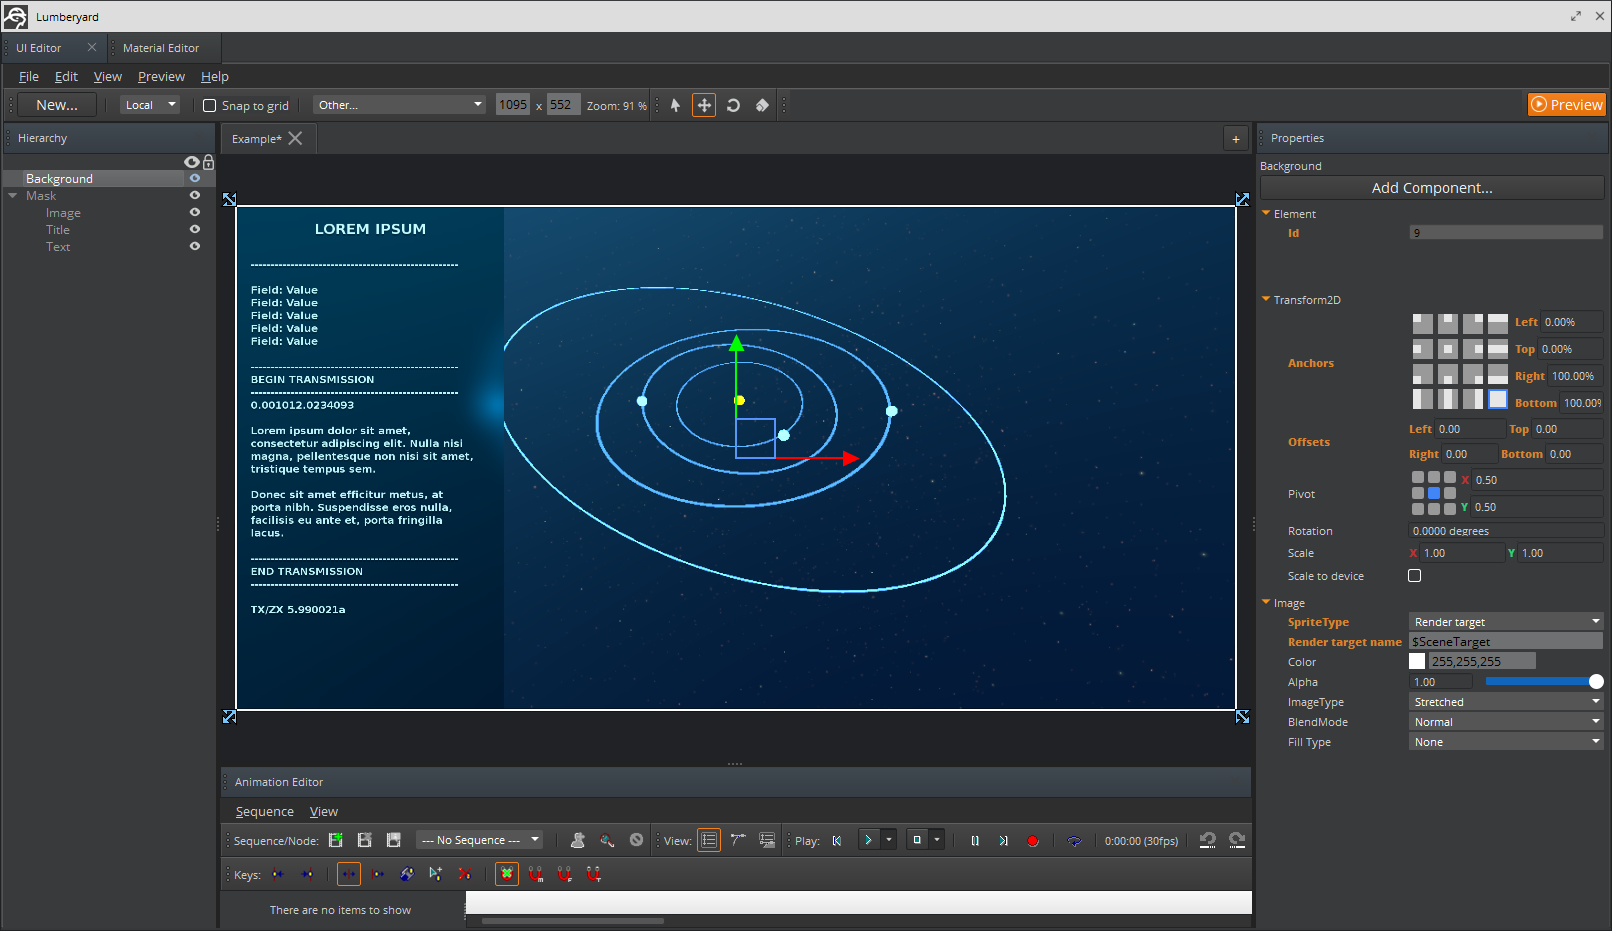
NOTE: because $SceneTarget does not contain the actual contents of the back buffer it won’t exactly match what is in the viewport, but for me I often just want to get a sense of scale and don’t need exact colors so this works fine. There may be some other render target or some combination of render targets ($PrevBackBuffer0 + ?) that may replicate the main viewport better, but this is simple and works well enough for my purposes – hope you find it useful!