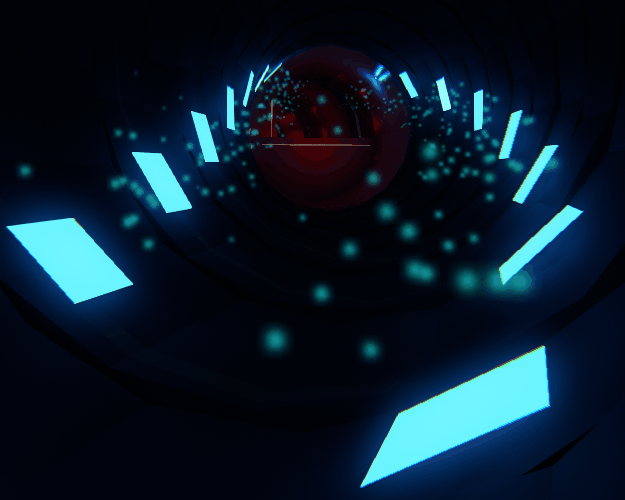
Somehow, I don’t know how, Ludum Dare managed to avoid a Hitchikers Guide to the Galaxy theme reference for the 42nd game jam. Instead the chosen theme was “Running out of space” so I made this uninspired obstacle course game where you fly a space ship down a twisty tunnel of doom, loosely inspired by Tempest.
https://ldjam.com/events/ludum-dare/42/petrocket-ld42-running-out-of-space
Development
I’ve never done a 48 hour jam with Amazon Lumberyard before, so part of the reason for entering the jam was to see what I could make in such a short period of time with a powerful and complex game engine. Here’s a full list of the software I used:
- Amazon Lumberyard
- Visual Studio 2017
- Wwise LTX
- Photoshop
- Blender 3D
Timelapse of one of my monitors during the game jam
Practice, practice, practice
I spent the a couple week nights before the jam practicing making basic stuff in Lumberyard to identify potential problems and to find out how long the essential tasks would take on my aging home dev machine.
#1 Create a new project with audio, a single level and a full release build.
The results of this task were encouraging and showed that I could make a final build in roughly an hour. In reality, I didn’t even need that long because all my game jam logic was in Lua so I just compiled once before the jam started and when ready to release, just updated the asset .pak files and zipped the whole thing up.
- Timing stats
- 10 mins to create a new project, add all the gems and compile all in profile mode
- 1hr to compile release mode
- 5 mins to generate shaders and pak files
- Size stats
- 42GB in temporary files for profile and release mode builds
- 181MB for minimum release build with a single level and default assets and SamplesProjects audio
- 55MB for .exe
- 45MB audio assets
- 33MB engine assets
- 18MB texture assets
- … plus everything else
#2 Build generic player controllers
I didn’t know what kind of game I was going to make so I practiced with 3 kinds of player controllers (of which I used none of course).
- 3rd person humanoid: idle, run, jump, attack melee, attack projectile
I looked into Make Human and Mixamo as potential ways to quickly get a decent character in without modeling and rigging it myself but ran into several issues. Mixamo characters have a root joint that is attached to the hips and wobbles with the animation so when you use it for root motion your character will not move in a straight line. Make Human outputs a model but you still need to rig and animate it and that can take several hours and you still end up with “dev art”. Boo.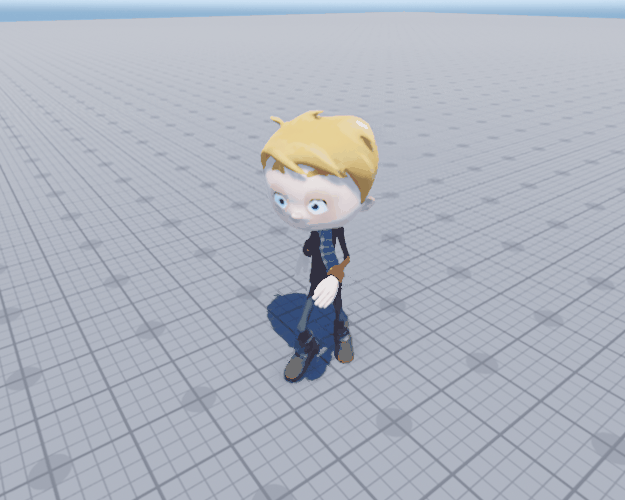
Mixamo humanoid root motion wobble
- 3rd person space ship: idle, flying, attack projectile
Vehicles don’t require animation, and space ships have very few constraints which makes them easier to implement. This controller moved in the direction given by the WASD keys while the turret on top pointed at where the mouse cursor was. In this gif, the player is defending the yellow capsules that the AI is attempting to capture.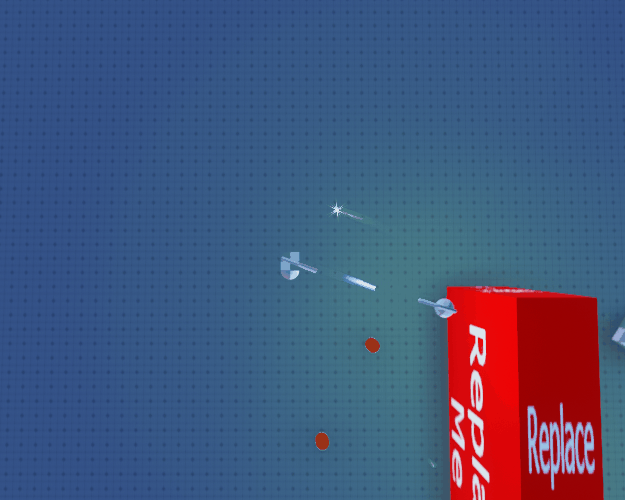
Twin-stick shooter controller with navigating AI
The key takeaway I got from making this vehicle controller was that if you are going to use CryPhysics, be sure to set the velocity and angular velocity at the same time. This is how the CryEngine vehicles (helicopters) were implemented. If you don’t, you can get bizarre behavior where velocity or angular velocity get canceled.
This is the function in my ToolKit gem that allows you to set both at once
void ToolKitSystemComponent::SetVelocityAndAngularVelocity(const AZ::EntityId& entityId, const AZ::Vector3& velocity, const AZ::Vector3& angularVelocity) { IPhysicalEntity *physicalEntity = nullptr; LmbrCentral::CryPhysicsComponentRequestBus::EventResult(physicalEntity, entityId, &LmbrCentral::CryPhysicsComponentRequestBus::Events::GetPhysicalEntity); if (physicalEntity) { // ... pe_action_set_velocity action; action.v = AZVec3ToLYVec3(velocity); action.w = AZVec3ToLYVec3(angularVelocity); physicalEntity->Action(&action); } } - 3rd person car: idle, driving
This simple guy was just a rolling ball with a car body snapped to it. Very basic, had issues with rolling sideways and gravity so if the car went off a hill it would fly through the air like a feather.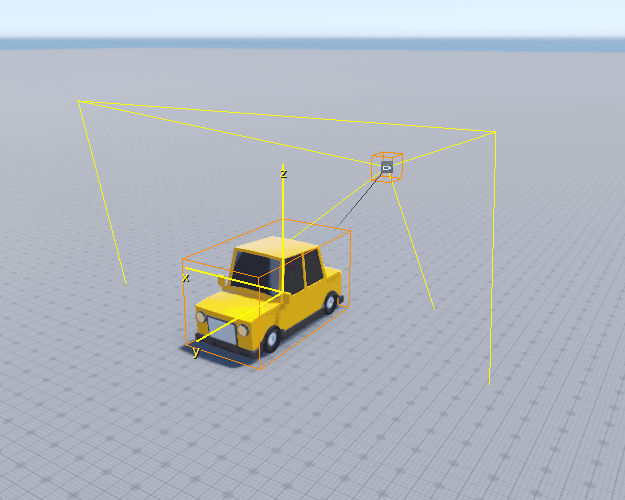
#3 Blow stuff up (of course).
Sometimes you just need to make something explode. This simple tutorial on YouTube on how to create an explosion effect with Blender was fairly easy to follow. Throw the render output into this sprite packer by code and web to get an atlas and then created a particle effect with it in Lumberyard. Easy. Total time took about 1 hour to set up and 6 hours to render so not really practical for a game jam 🙂 I did expose a function for a screenshake though that I used in the jam when colliding with objects.
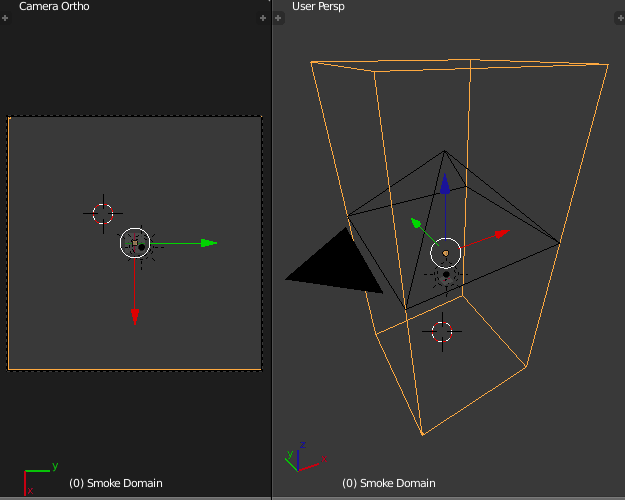
Smoke & fire simulation in Blender
Other stuff I didn’t get time to practice
- Terrain texture creation and terrain generation
- Model basic assets (rocks, trees, buildings etc)
- Skybox
32 hours of actual jam time
You never get the full 48 hours in a jam because, well, sleep, but also because a last minute trip comes up and you miss a day. Those extra hours probably would have resulted in a start menu, some audio and maybe I would have fixed the crash that happens when you try to restart a level.
The first day of the Jam was spent
- deciding what to do and making a task list
- creating a path follower that could be attached to a spline
- making the ship accept player input and collide with objects
- creating a laser that collided with and damaged objects
- adding a game over event for crashing or reaching end of course
Progress @ end of day 1

Day two involved
- actual tunnel geometry, lights
PRO TIP: Give your geometry proper UV coords or you will get weird shading of your object in Lumberyard.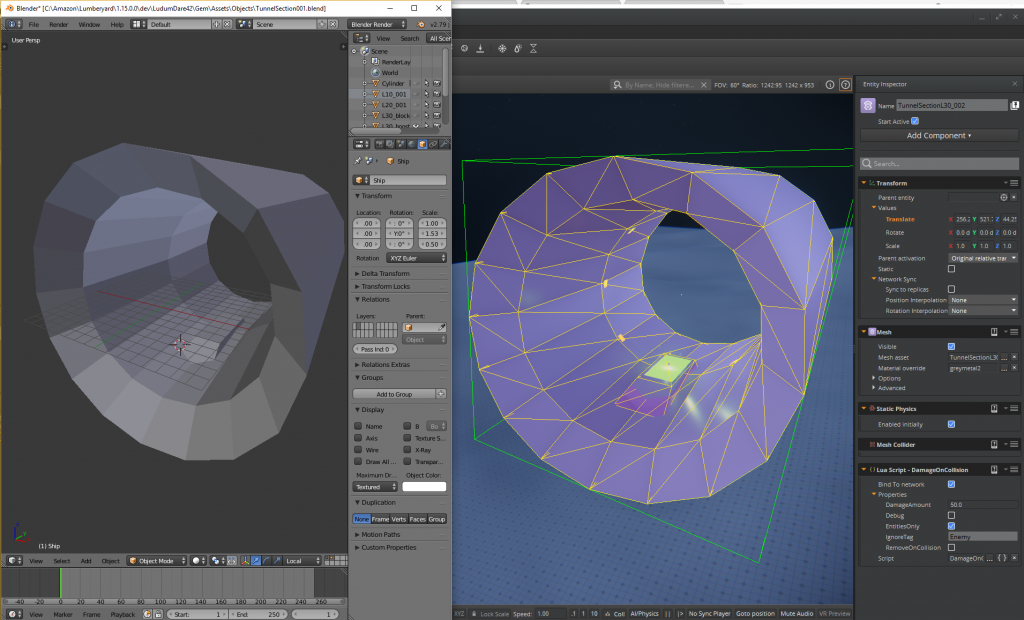
Yay blender
- Various pads (trigger areas) for changing speed and health.
Green temporary boost pad = MOAR SPEED
Blue heal pad = HEALZ PLZ
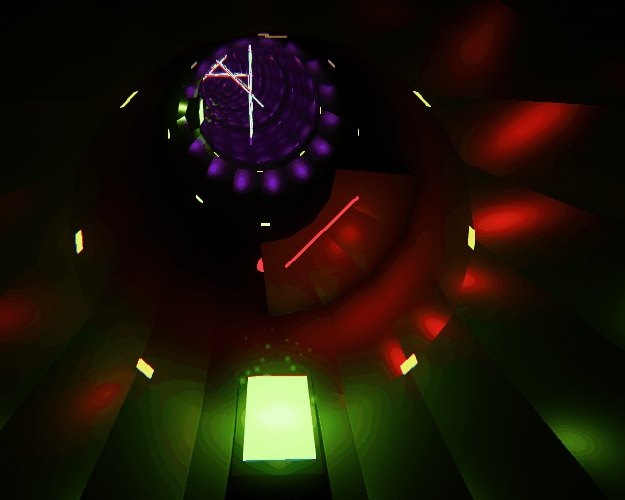
- enemy turret that shoots at you (red bubbles), shocking purple lazorz and permanent speed boost sections.

- environment, volumetric fog, motion blur, etc.

Volumetric fog (more visible in daytime environment)
- basic HUD and tunnel section spawners for building the course

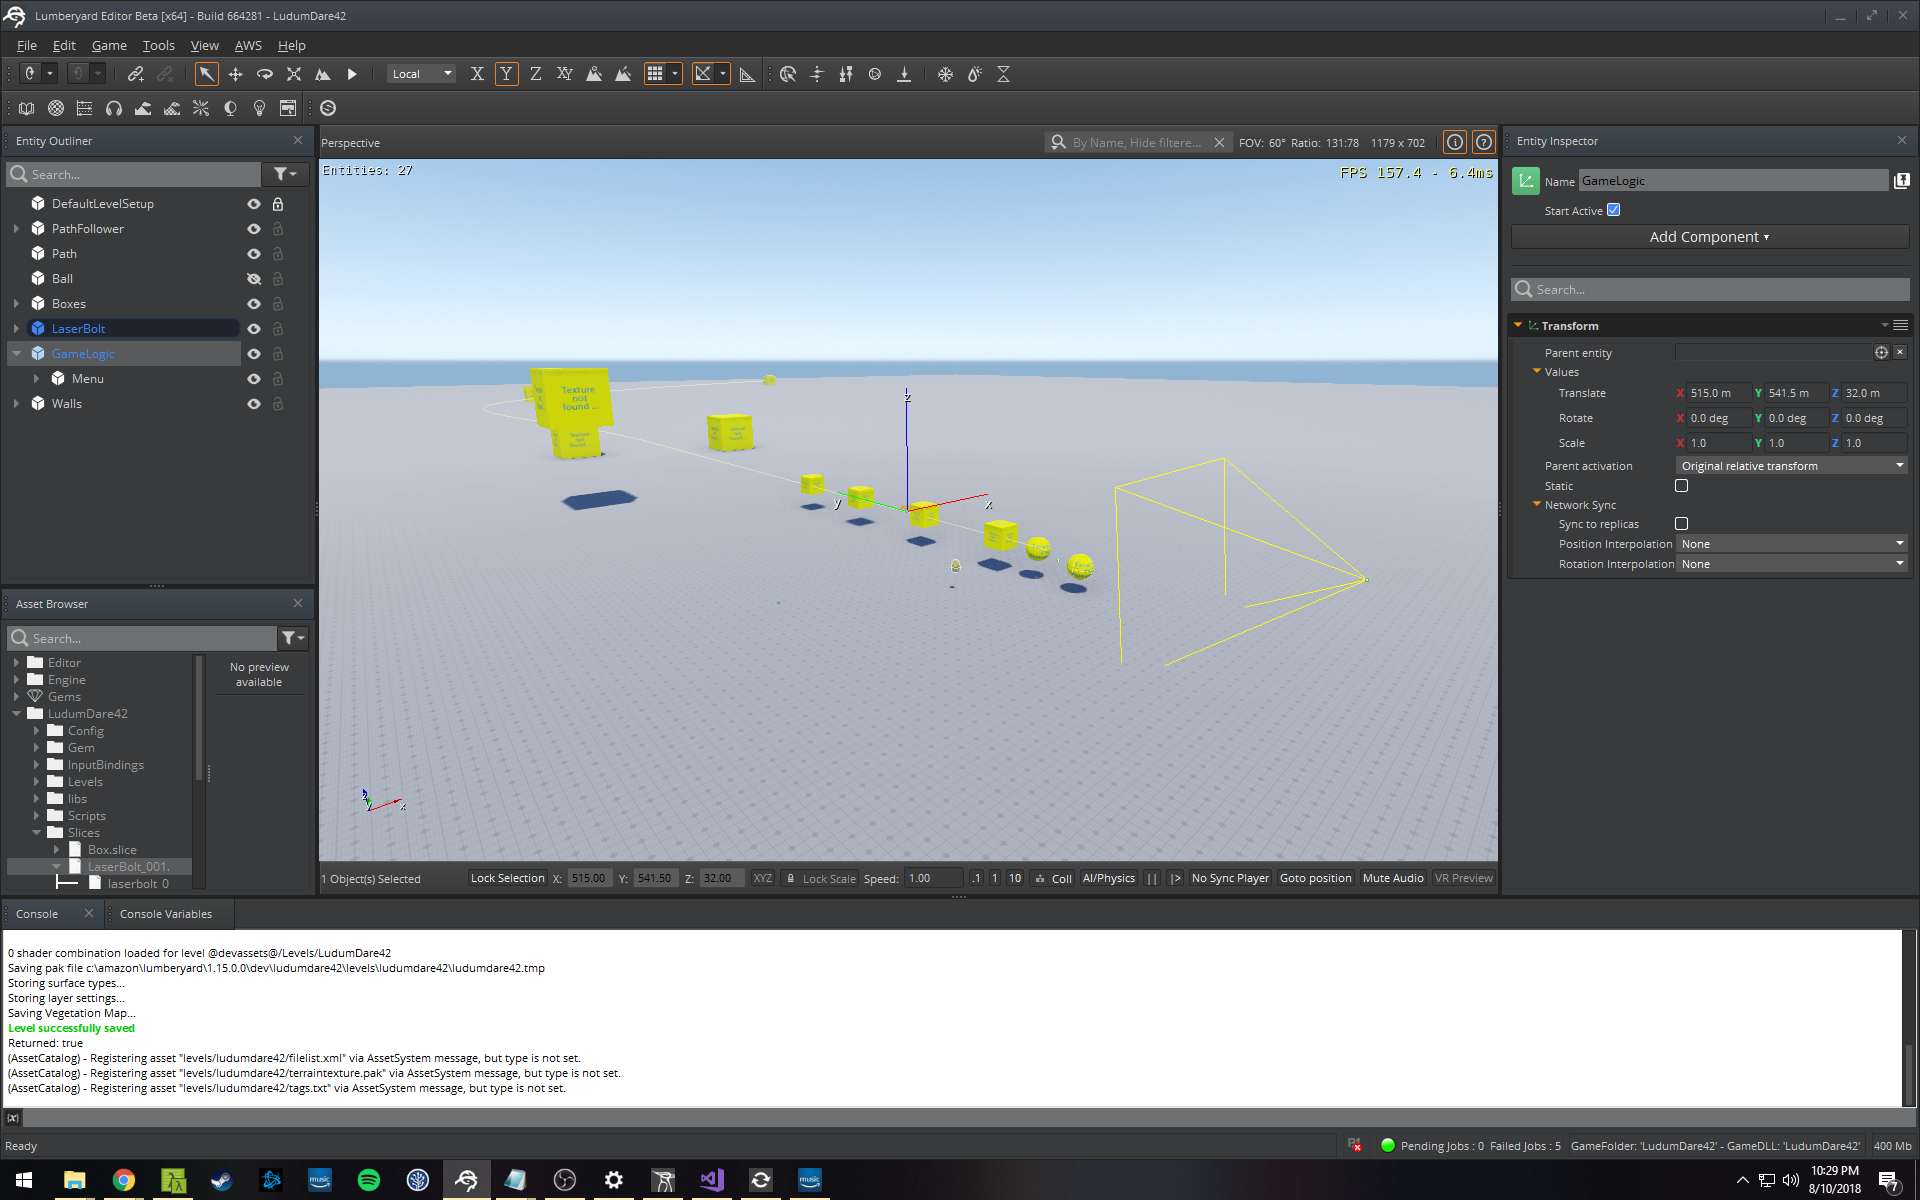
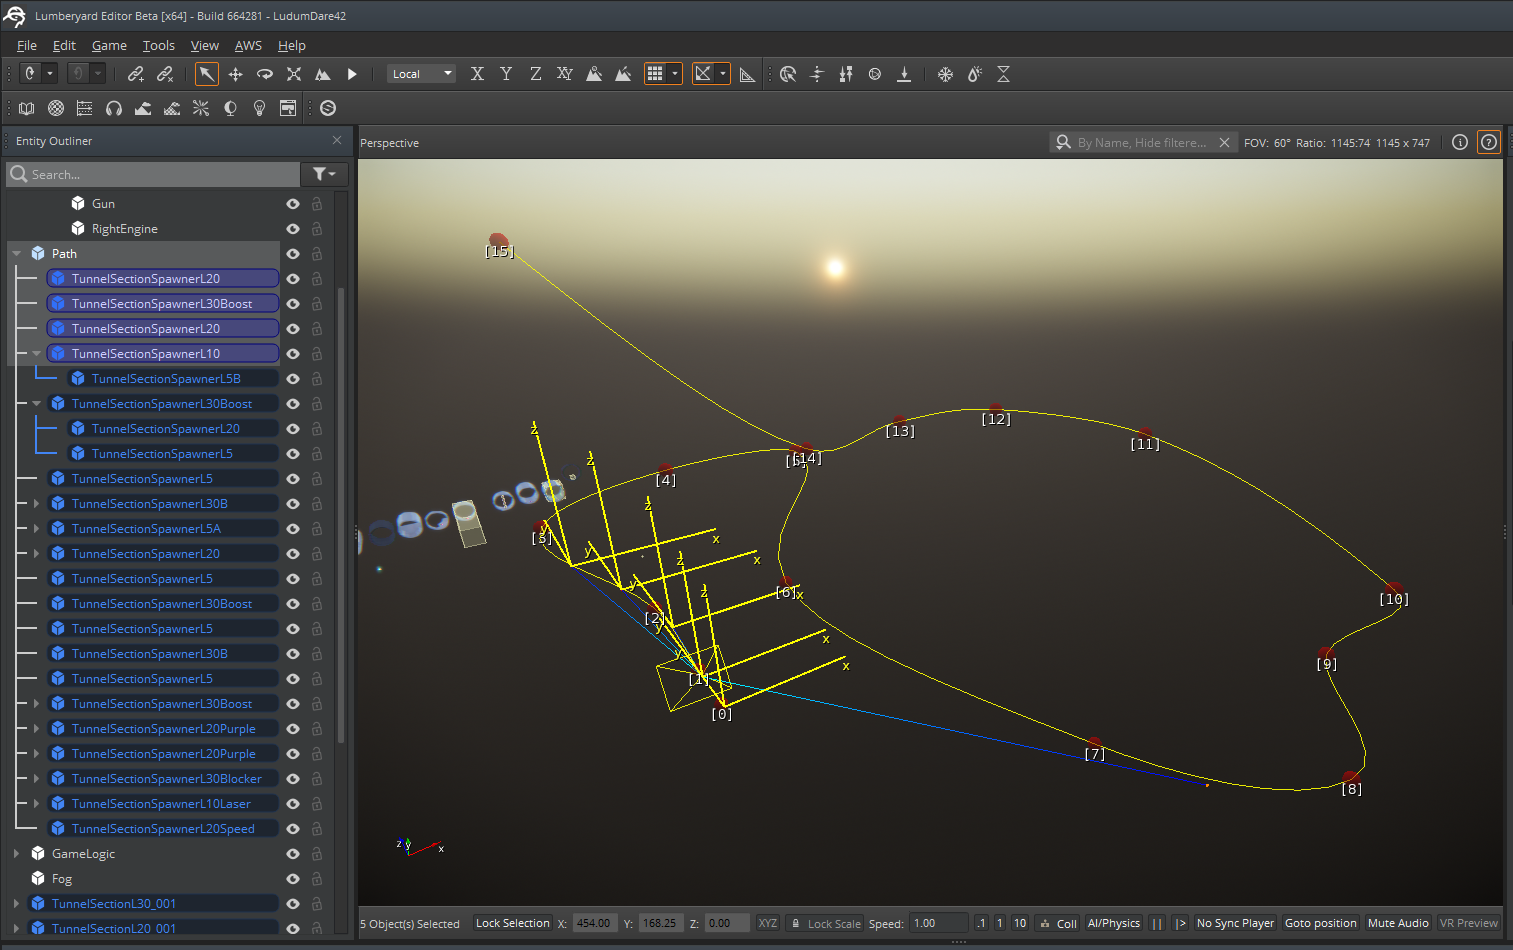
Each tunnel section start point was denoted by an entity that I placed somewhere along the path. By adjusting the spacing, layout and rotation I could get a bunch of different effects. By default the Lua component that places tunnel sections will stop when it gets to the starting point of the next tunnel section, but I added a checkbox to disable this behavior if I wanted to manually enter the tunnel section length which was useful for the part where the tunnel exits the ground.

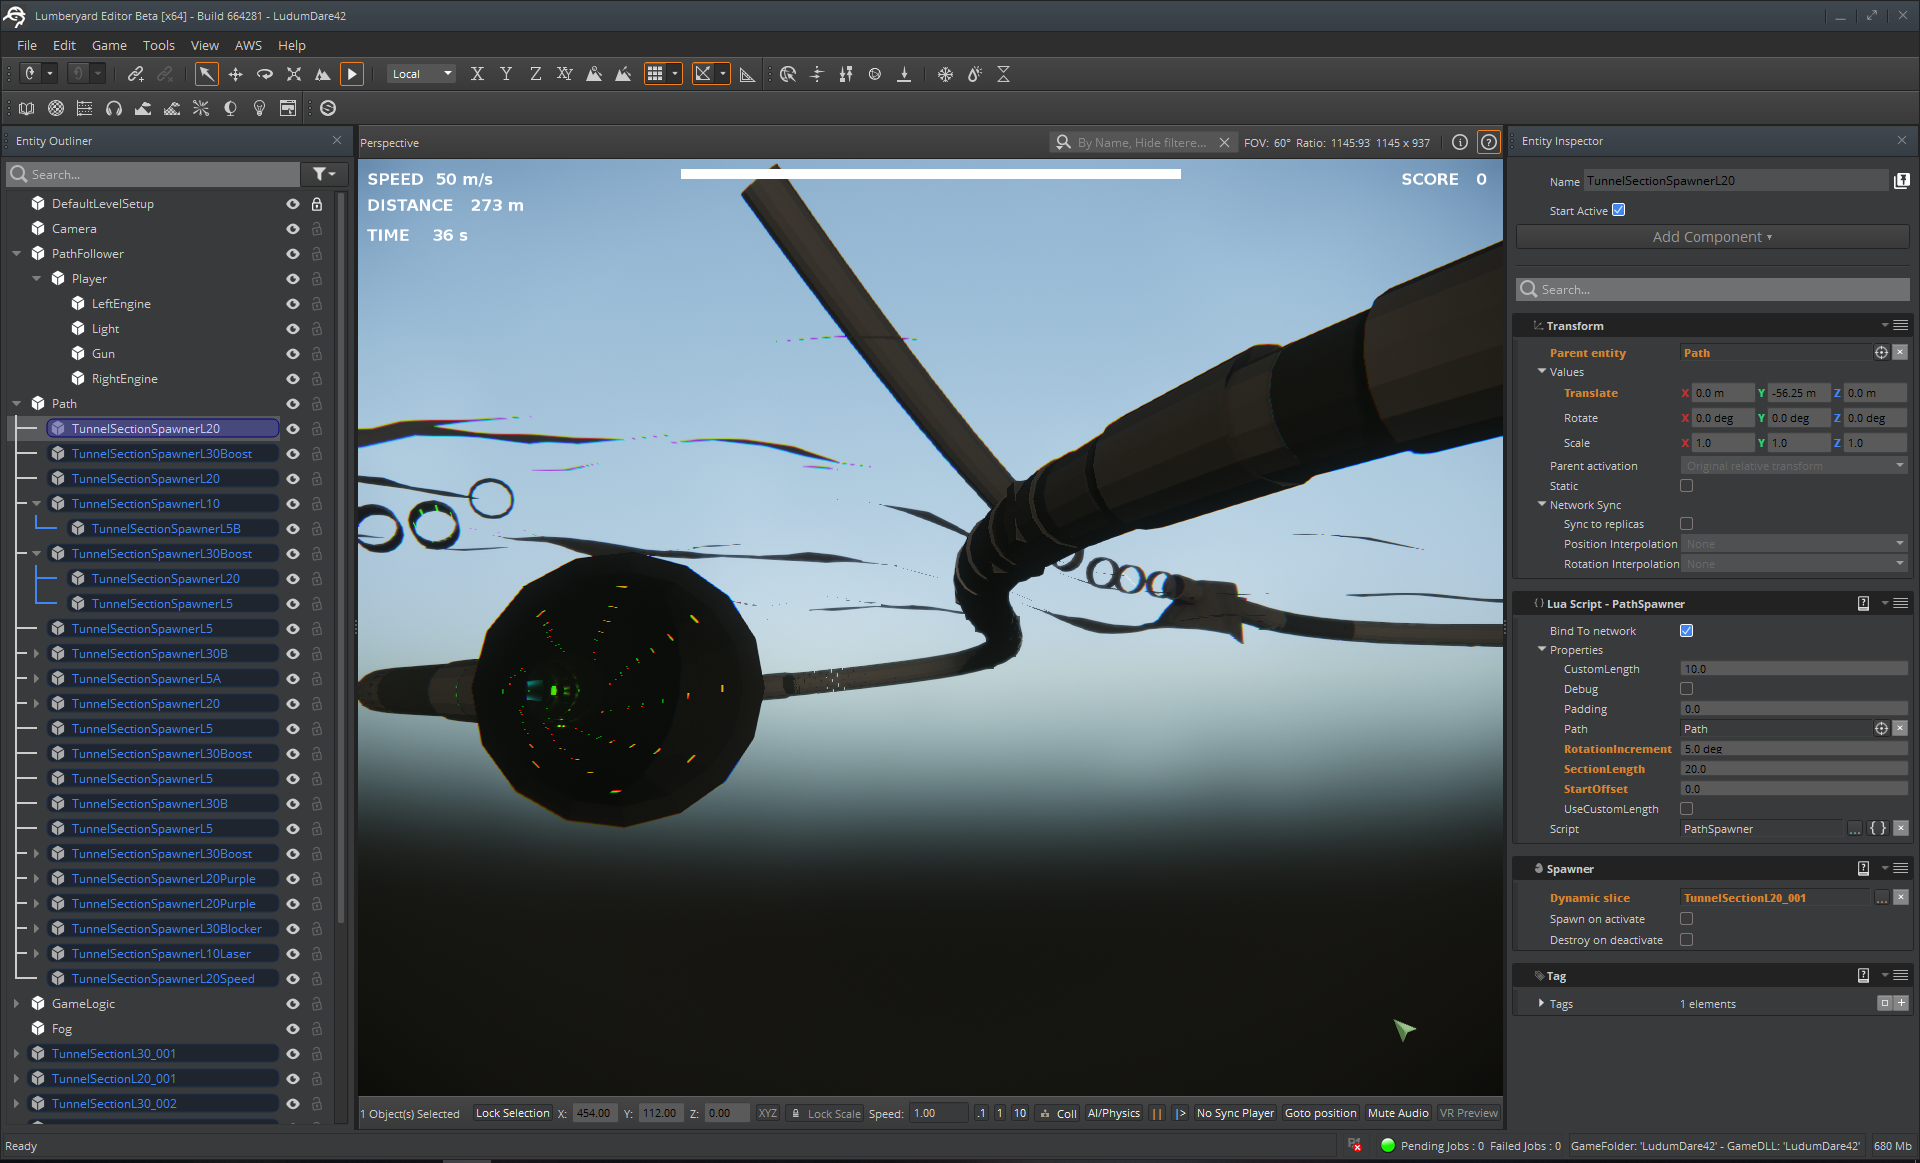
In the end I created these Lua components, and had a single C++ system component that exposed misc functionality to Lua
- Enemy.lua – Turret AI for firing at the player. I used a trigger area for detecting when the player was in range.
- EventNames.lua – I like to keep my event names in a table to help avoid syntax errors
- GameDataDefaults.lua – Default game data variables
- GameLogic.lua – Game logic state machine
- HealOnEnterTriggerArea.lua – for heal pads
- Health.lua – takes damage/health, fires health related events
- HealthBar.lua – This changes the width of the health bar in the UI
- LaserBolt.lua – Updates position by setting Physics velocity
- PathFollower.lua – Follows a spline path at a specific speed
- PathSpawner.lua – Spawns slices and orients them along a spline path
- PlayerController.lua – Takes input and move the player, fires lasers
- RemoveAfterTimeout.lua
- RemoveOnDeath.lua
- Rotate.lua – This will rotate an entity along an axis. I didn’t end up using this because it was a performance hit to use on a bunch of tunnel sections. Bummer.
- ScreenShakeOnDamage.lua
- SpeedBoostOnTrigger.lua – Speed boost pad
- SpeedBoostPathFollower.lua – accepts speed boosts and adjust them over time
- SpeedChangeOnEnterTriggerArea.lua
- Weapon.lua – The weapon component accepts a fire event and actually fires a specific projectile (dynamic slice) based on a fire rate etc.
- CameraFollower.lua – You’ll never guess
- DamageOnCollision.lua
- DamageOnEnterTriggerArea.lua – Used this one for the purple laser beams
Unexpected Challenges
- Turret ballistics
Getting the AI to shoot at the player and almost hit them with variable bullet and player speeds was an unforeseen challenge. I decided to implement something similar to the math in this post on gamedev.net to lead the player. It didn’t quite work for me the way it was written in the article, but after some debugging I ended up with this in Lua:local currentPosition = TransformBus.Event.GetWorldTranslation(self.Properties.Gun) local playerPosition = playerTM:GetPosition() local targetDelta = playerPosition - currentPosition -- we only want velocity moving forward -- just use given player speed, ran into math errors projecting vector onto forward basisY local velocity = playerTM.basisY * GameData:Get(GameData.PlayerSpeed) local bulletSpeed = 20.0 -- yup hardcoded bullet speed for now local a = velocity:Dot(velocity) - (bulletSpeed * bulletSpeed) local b = targetDelta:Dot(velocity)*2.0 local c = targetDelta:Dot(targetDelta) local d = math.sqrt((b*b) - (4*a*c)) local t0 = (-b - d)/(2*a) local t1 = (-b + d)/(2*a) if t0 < 0 and t1 < 0 then self:Log('cannot hit ' .. tostring(velocity:GetLength())) return end local t = 0 if t0 < 0 then t = t1 elseif t1 < 0 then t = t0 else t = math.min(t0,t1) end -- intercept point where we will destroy the player local intercept = playerPosition + velocity * t - Crash on map change in the launcher
Some kind of memory issue I didn’t track down yet possibly related to my Lua code. - Laser material that was visible in editor but invisible in launcher
If you’ve messed around with StarterGame you may have noticed the laser material uses the geometry beam shader.
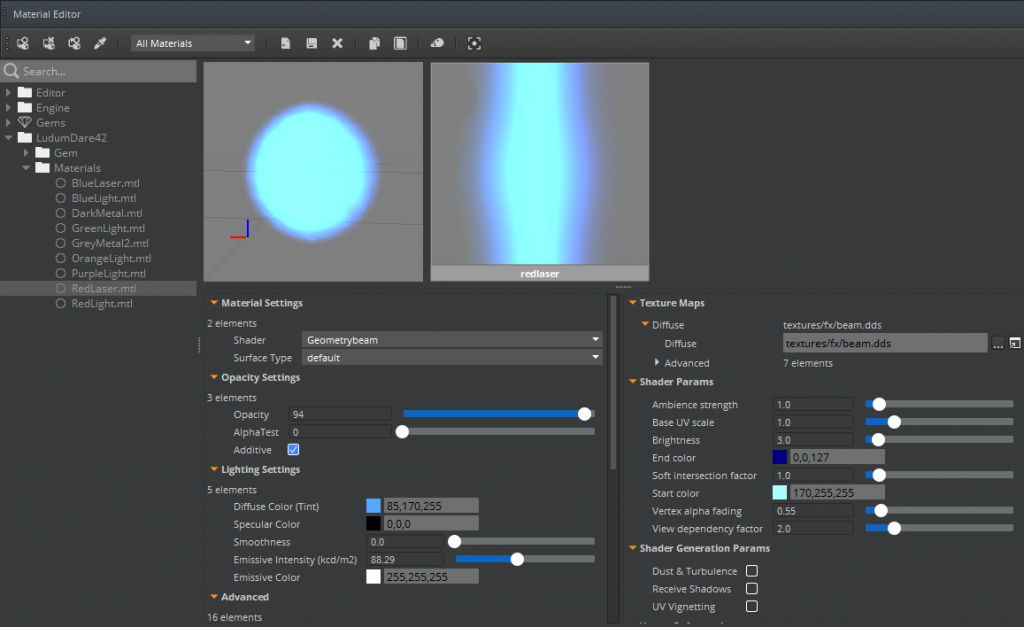
When I used this for my laser it worked in the editor but not in the Launcher. If I had used a basic mesh and material to verify the problem wasn’t related to how I was spawning and moving the laser bolts, I could have saved a lot of time. - Making an easy way to layout the tunnel sections along a spline.
I started by creating an uber Lua component that would create tunnel sections dynamically at runtime which doesn’t scale well and quickly becomes hard to keep track of. Version 2 was to create an entity for the start of each tunnel section and place it near the part of the spline where I wanted the sections to start. This was way easier to manage and adjust except I didn’t have an easy way to preview and manipulate it in editor.

For version 3 I would definitely make a c++ editor component that I could attach to a path and drag along easily while in editor with a visible mesh.
That’s it! I had fun and may even polish this little game up a bit more. Here’s the link if you want to download the game or source: https://ldjam.com/events/ludum-dare/42/petrocket-ld42-running-out-of-space